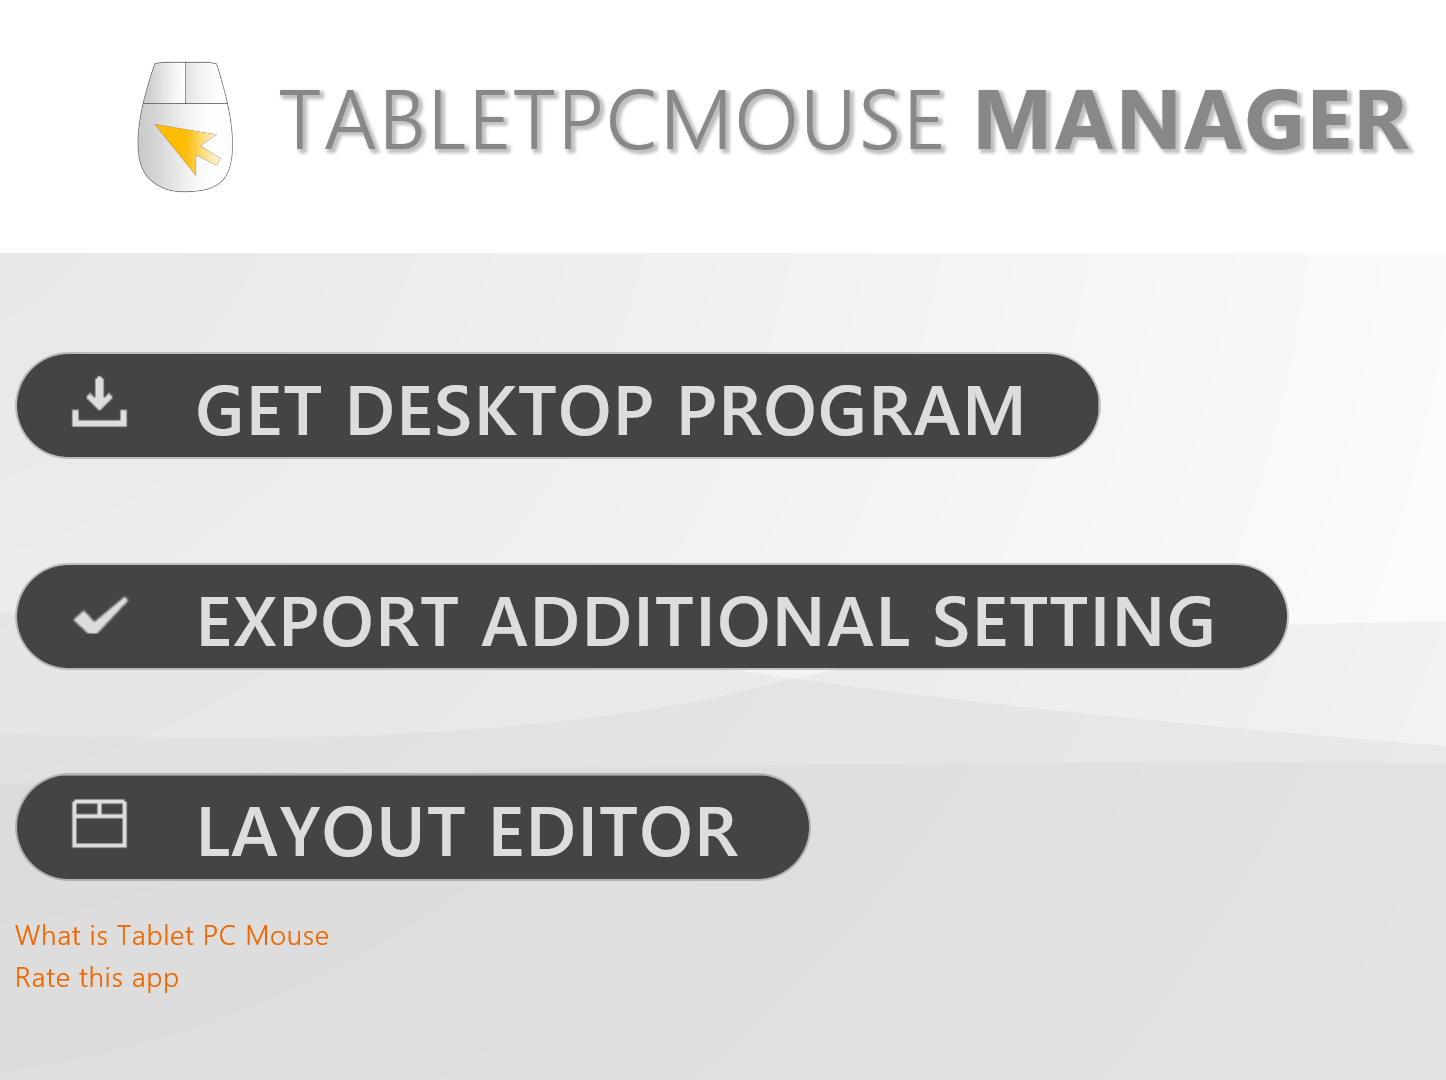
TabletPro, the utility formerly known as TabletPCMouse from developer LoveSummerTrue, is out of beta and now available for download from the Windows Store.
The software offers a variety of features, but most important to artists is the ability to create fully-customized on-screen hotkeys for your favorite programs.
While the TabletPro app is free to download, the Artist Pad functionality costs $9.99. Purchased individually, all the optional features will cost $34.99. The discounted price for the suite is $25.99. These include:
- Virtual mouse for touch
- Gesture for touch
- Simultaneous operation of pen and touch
- Zoom the desktop by touch
- Game pad for touch
- Transparent Touch Keyboard
TabletPCMouse V.1 owners are eligible to upgrade for $15.99. The developers also sent out an email to participants in the beta program with a free upgrade code. If you didn't receive it, contact Justice Frangipane.
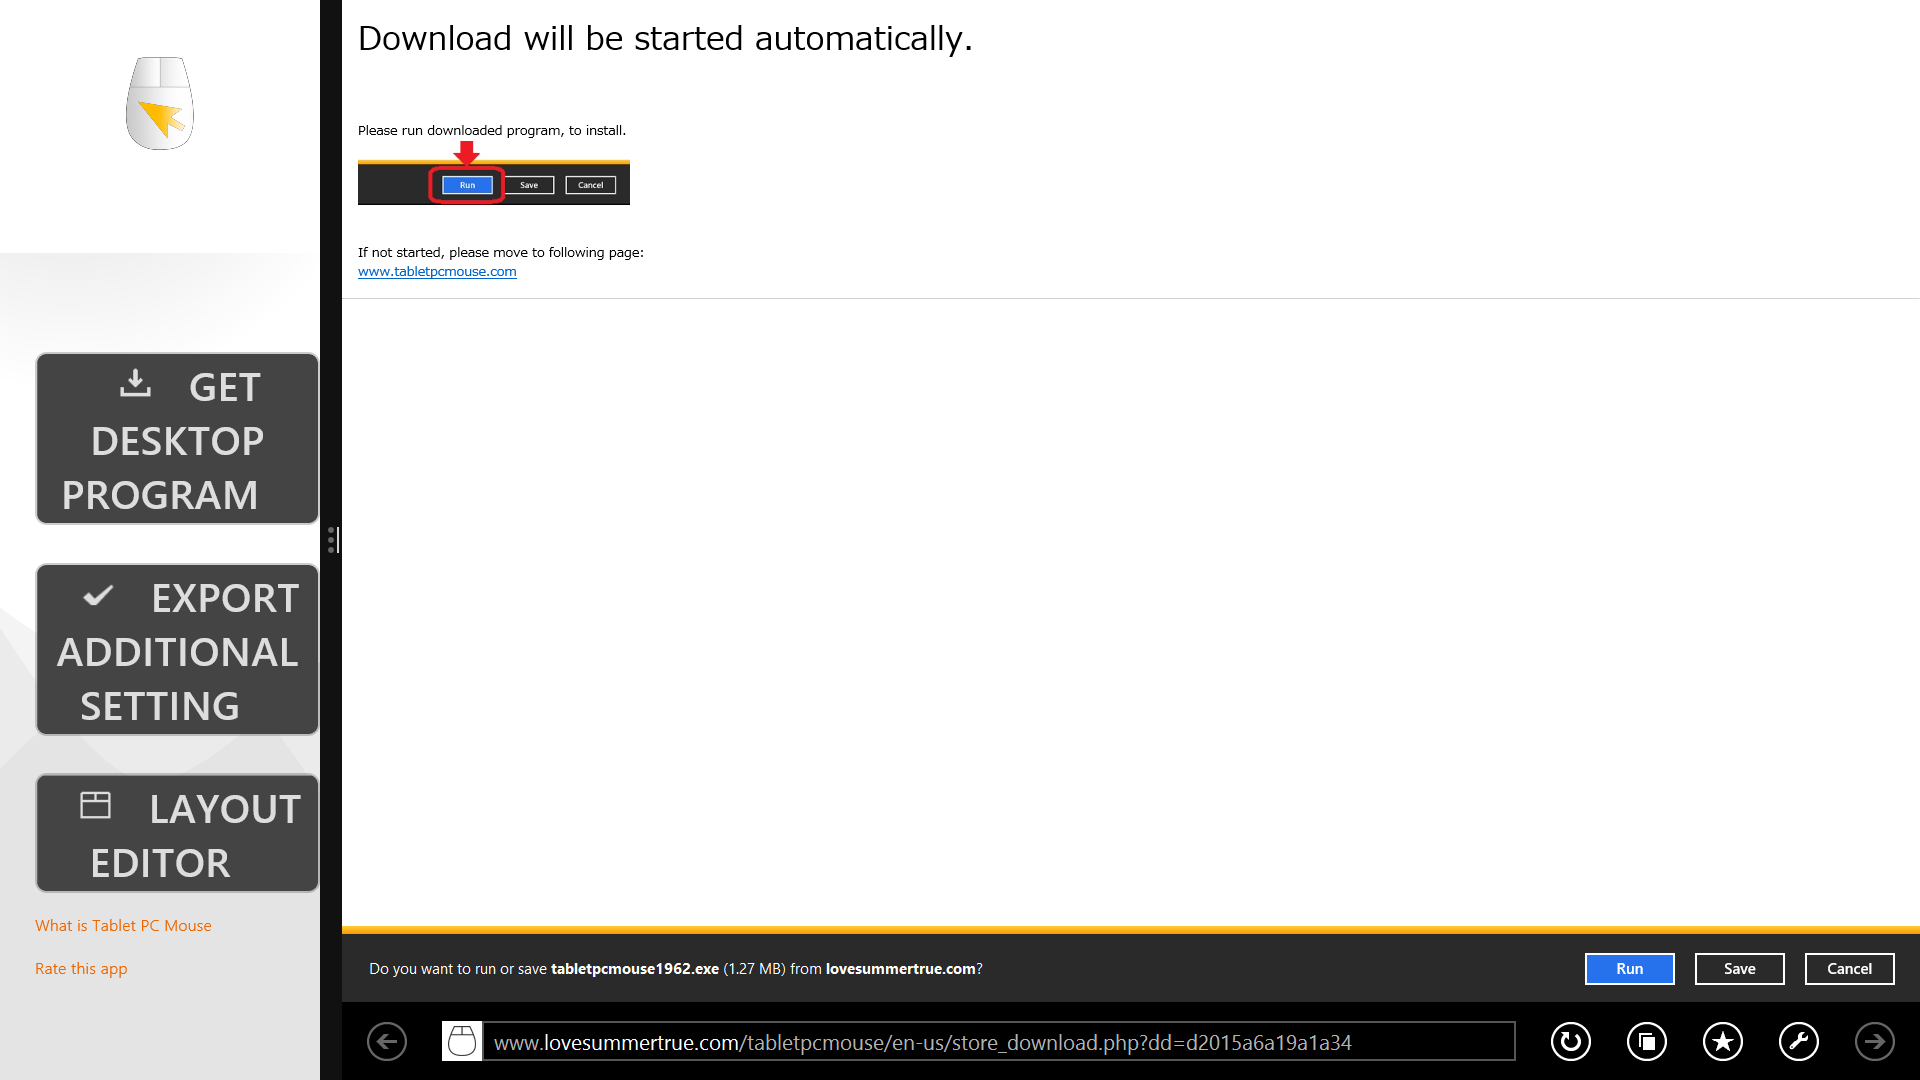
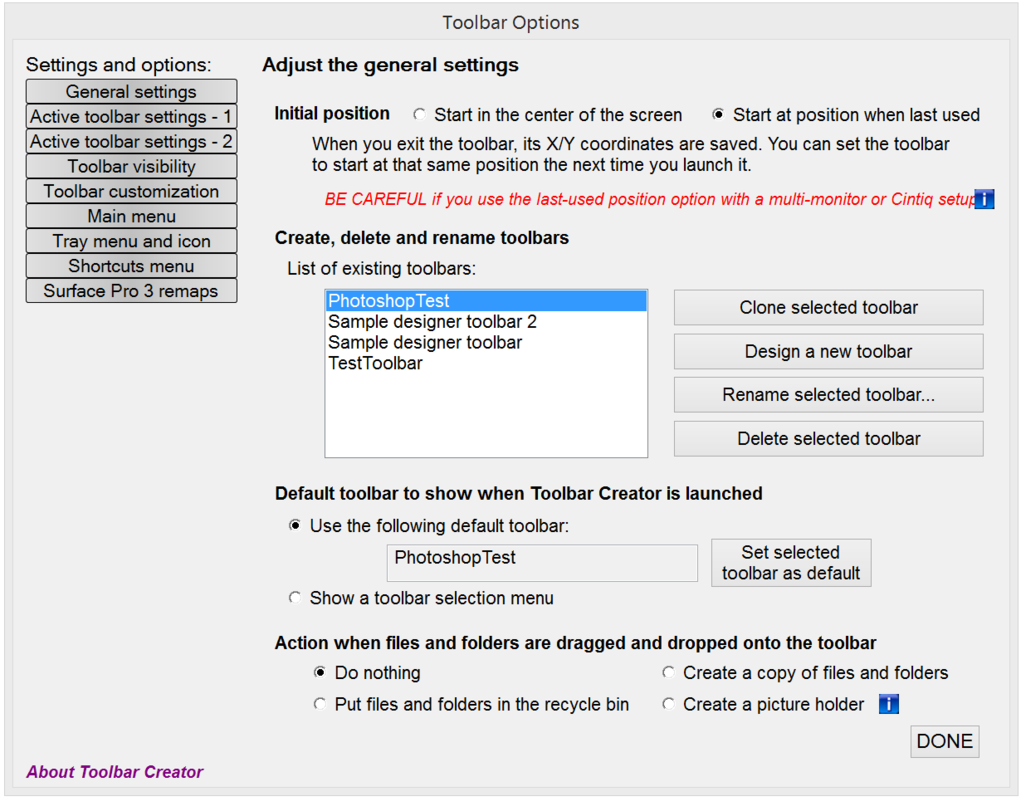
Like its predecessor, TabletPro requires both the Windows Store app and a desktop component to function. Installation is easier now as the desktop utility can be downloaded directly from the app.
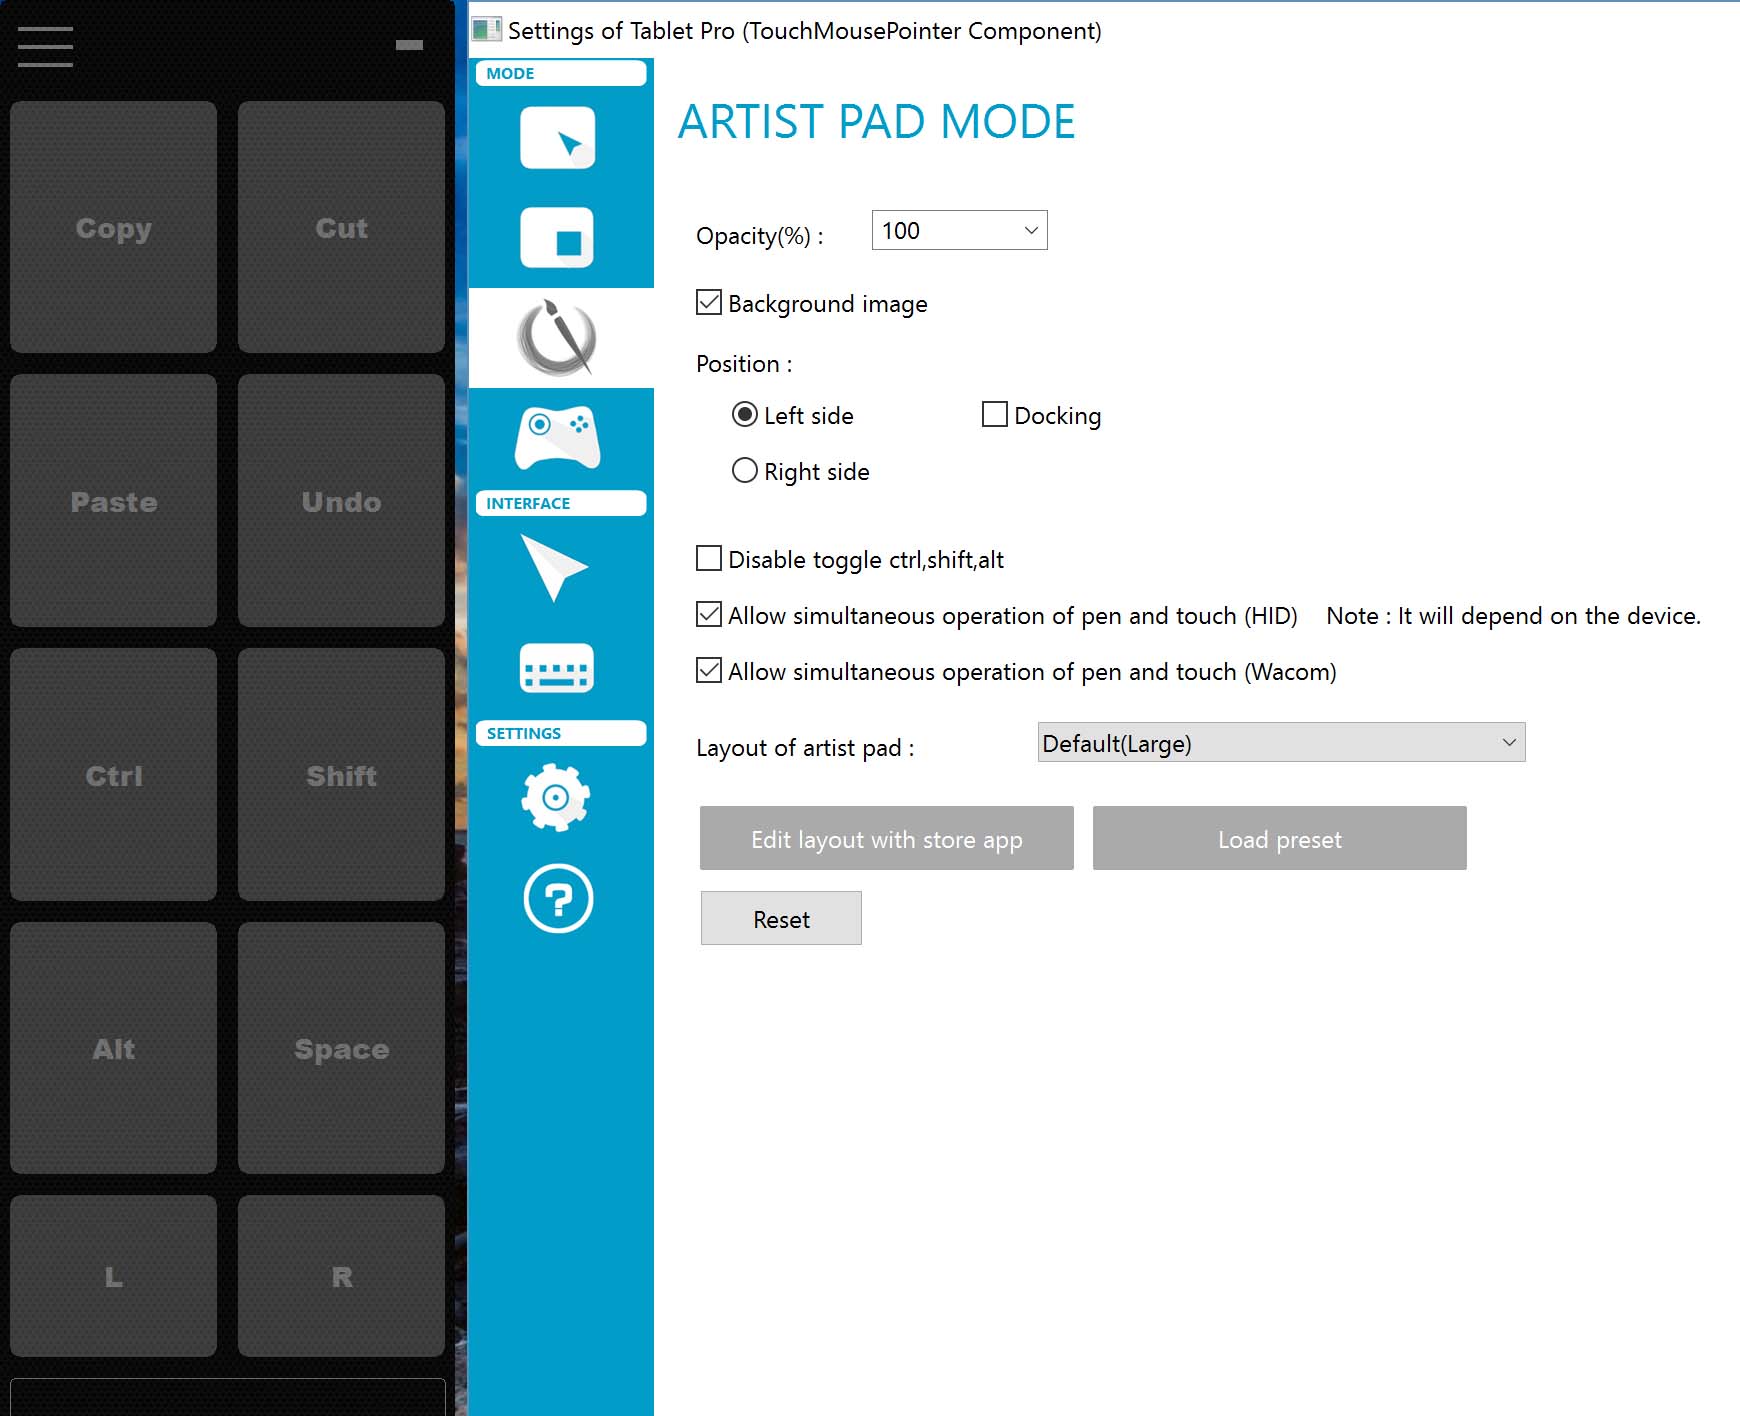
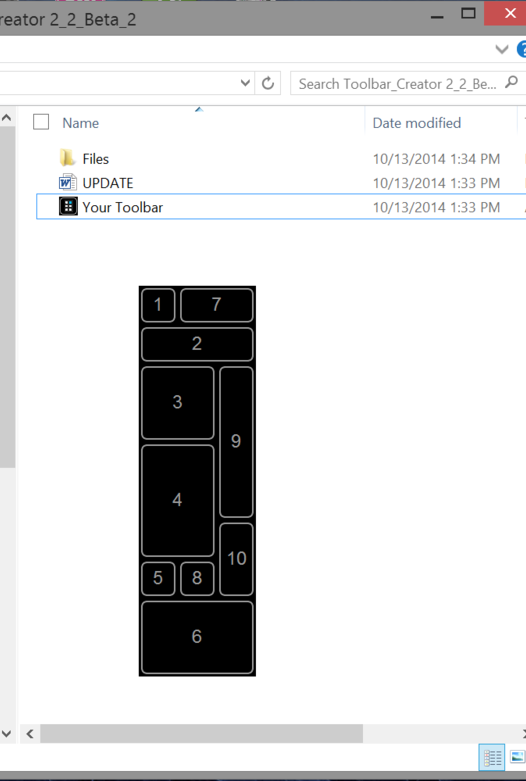
The default Artist Pad hotkeys (left) and the Artist Pad control panel.
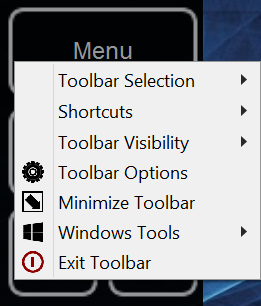
I've always found the setup a little confusing (see my review of the original version here), but the effort is worth it if you want to use your Windows art tablet without a keyboard. Fortunately, the developers have published a detailed step-by-step installation tutorial along with a series of introductory videos. You can find them here: http://tabletpro.net/tablet-pro---tutorials.html

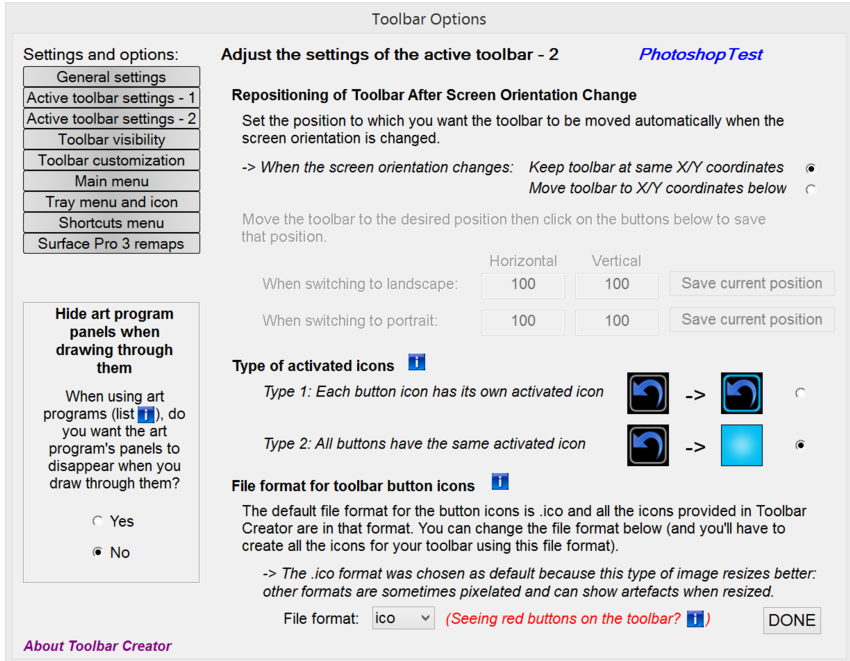
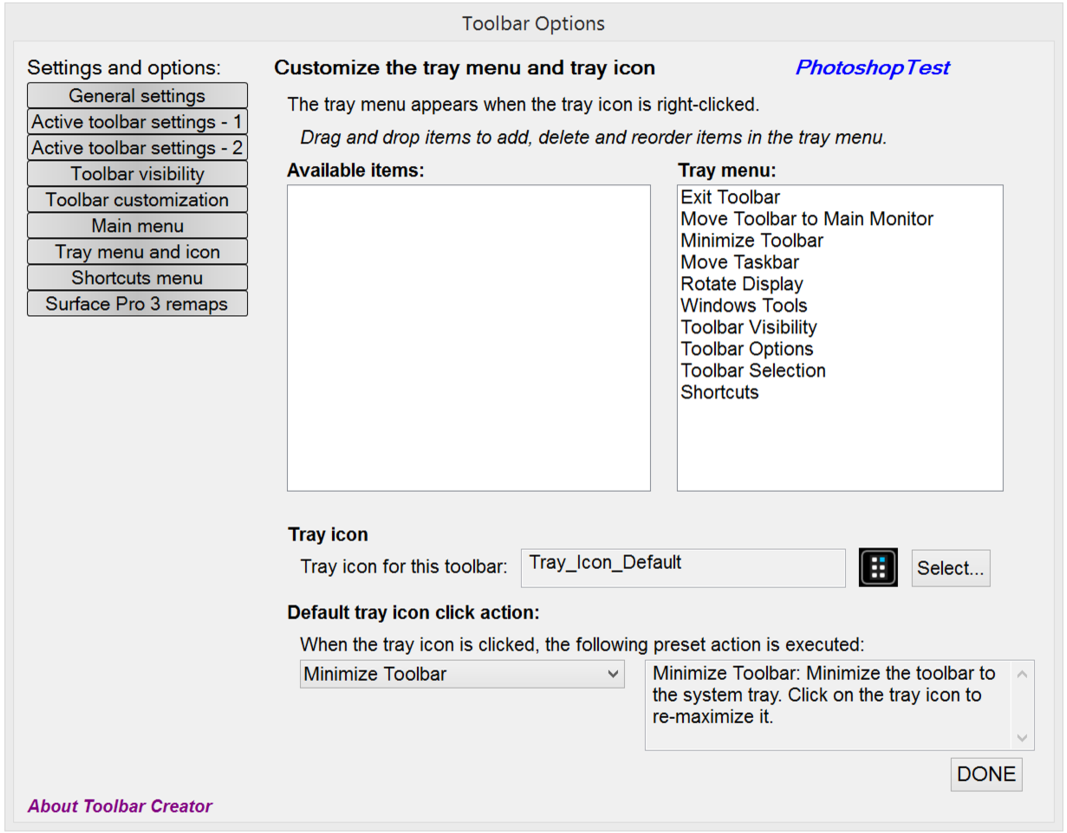
The included Photoshop Artist Pad hotkey configuration (left) and the Artist Pad layout window.
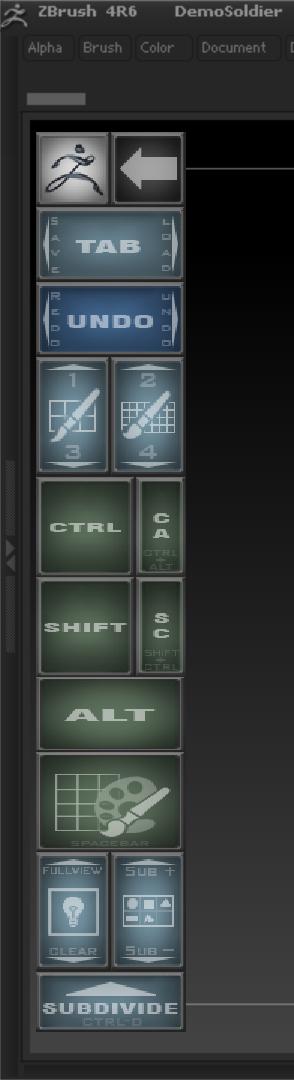
The TabletPro Artist Pad add-on includes preset layouts for Photoshop (pictured above), Clip Studio Paint and TVPaint. The TabletPro.net forum has a section where users can upload and share their Artist Pad layouts for software like ZBrush.
Although it may be a little confusing to use at first, and more than a little expensive for a utility, TabletPro is the only hotkey tool that I know of that is in active development. It's an essential addition to any artist's tablet PC.